
 Go to Products → Payment buttons once you have created your website(s).
Select a website and click on  .
Then just choose a button type 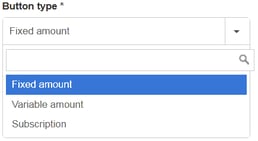 and fill out the creation form.
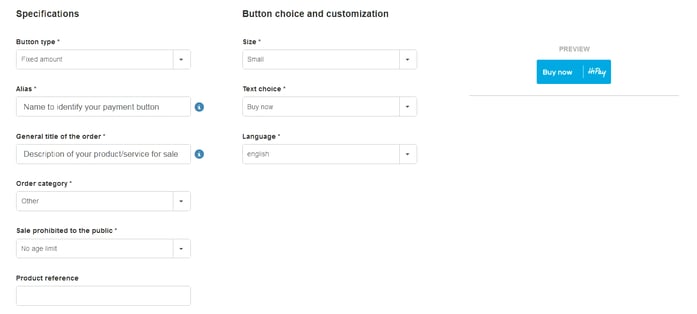
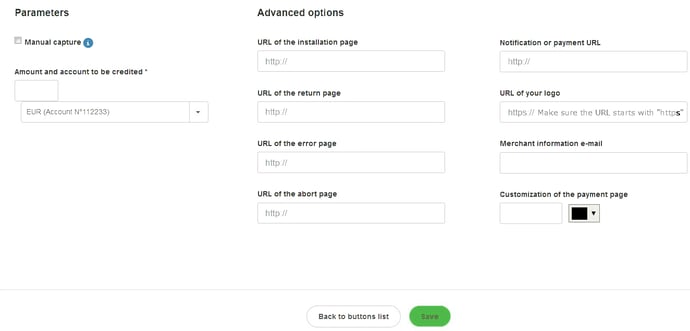
It’s that simple!
 Quick tip: you can also create buttons from the list of your websites by clicking on the icon under “Buttons” with a number (reflecting the number of created payment buttons – e.g.:
 if you have none yet), then on .
To copy and paste the button’s source code into the HTML code of your website or see a preview, just click on  from the list of payment buttons.
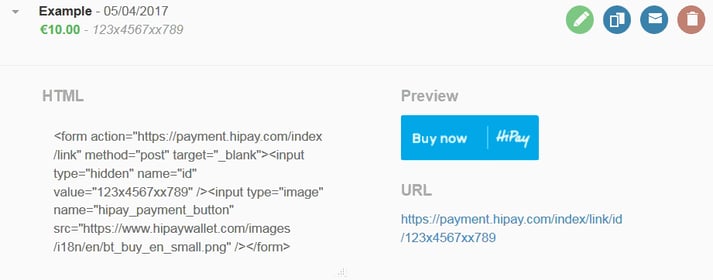
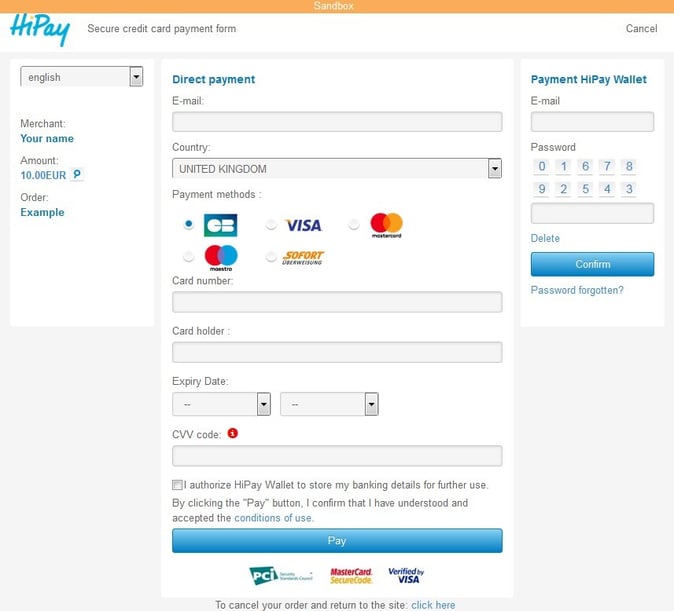
You will even get a sneak peek of the Secure credit card payment form in sandbox by clicking on the payment URL.
Please note: only use “Variable amount” for donations.
In such case, add the following into the button’s code to create a variable amount field:
You can also put an indicative amount (e.g.: value="10"), with a minimum value of 2.

 When setting your parameters, be careful when ticking
 since authorizations only last 7 days.
If you choose this option, make sure to capture or reject all your transactions manually before they expire.
To do so, go to Transactions → Search transactions.
Look for each transaction you want to manually capture or reject and click on its blue description.

The transaction detail overview will open.
Just click on the dedicated buttons at the top-right corner of your screen to  or
 the transaction.
